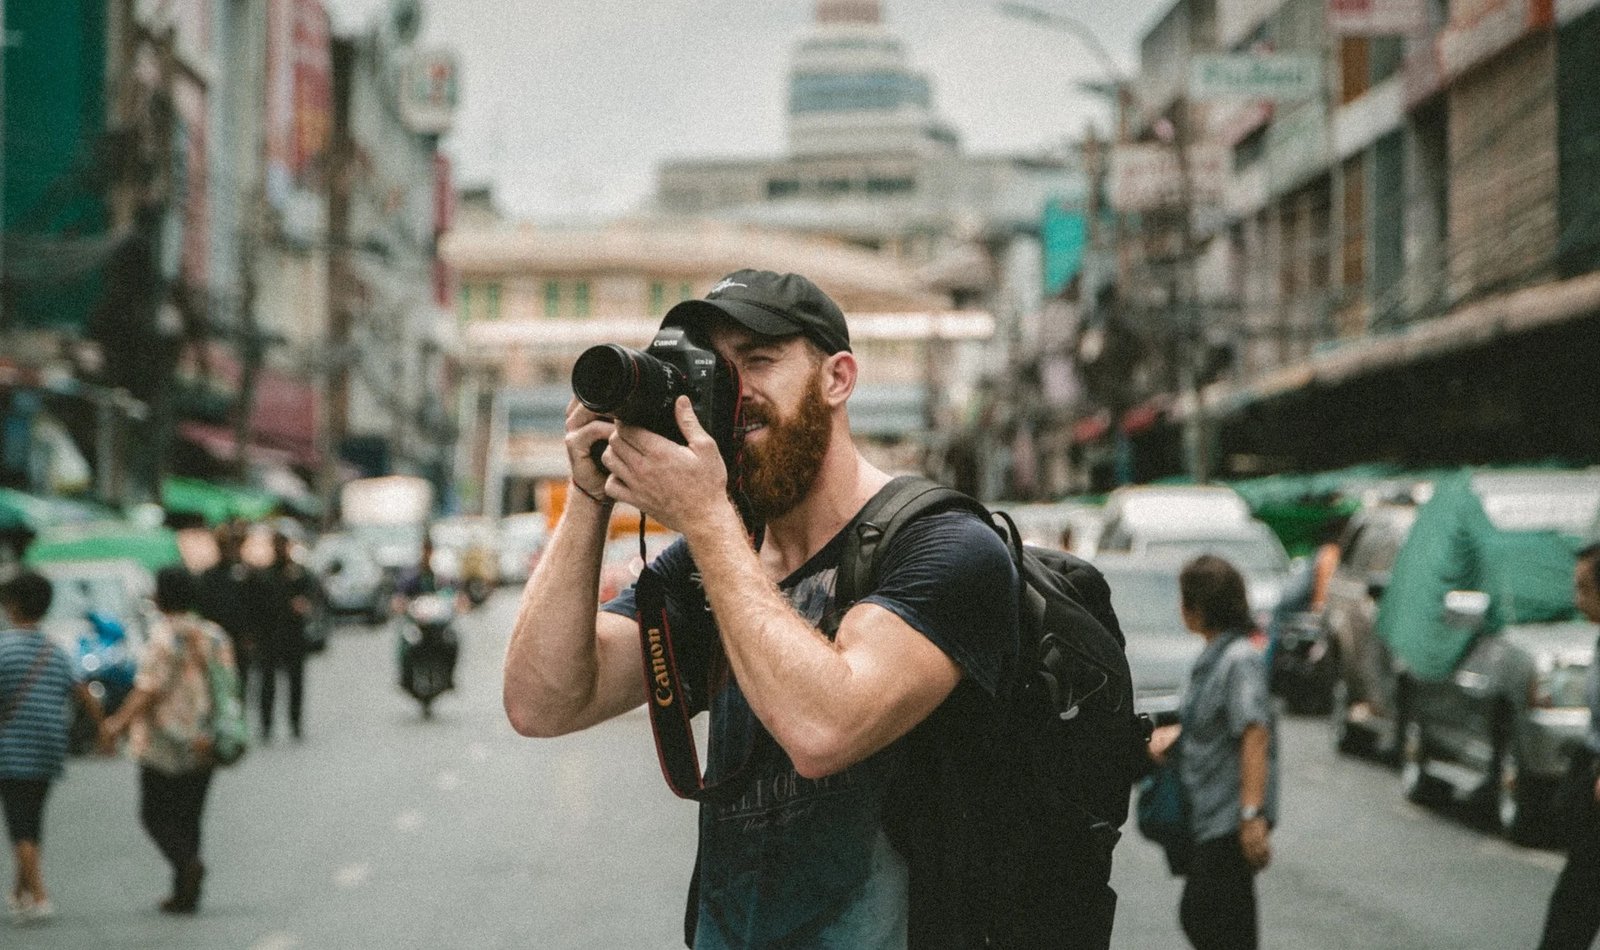
Travel photography is one of those skills where the gap between beginner results and experienced results is almost entirely explained by habits rather than equipment. The photographer who arrives at a landmark at 10 AM with a mirrorless camera produces worse images than the photographer who arrives at 6 AM with a phone. The photographer who stands at the obvious viewpoint produces the obvious photograph — the one that looks identical to 50,000 others. The photographer who walks for ten minutes to find the non-obvious angle produces something specific.
At TrotRadar, these travel photography tips for beginners are built from the specific habit changes that produce measurable improvement in travel photographs — without requiring expensive equipment, technical mastery, or more than a reoriented approach to when and how you photograph the places you visit.
TrotRadar Tip: The single most impactful change in travel photography is not buying a better camera — it’s setting an alarm for one hour before sunrise on at least two days of every trip. The quality of light in the first hour after dawn transforms every subject — architecture, landscapes, markets, streets — in ways that no camera upgrade replicates. TrotRadar’s entire travel photography approach is organized around this principle. Browse TrotRadar’s photography travel packages — we feature small-group photography tours in several of our top destinations for visual travel.
The Equipment Question: Phone vs Camera, Honestly Answered
TrotRadar’s honest answer to the phone versus camera question: for most beginner travel photographers sharing images at social media or standard print sizes, a flagship smartphone (iPhone 15 Pro, Samsung Galaxy S24 Ultra, Google Pixel 8 Pro) produces image quality indistinguishable from a $1,500 mirrorless camera in most conditions.
The conditions where a dedicated camera genuinely outperforms a phone:
- Low light / night photography: A mirrorless or DSLR with a fast prime lens (f/1.8 or faster) genuinely outperforms even the finest smartphone in dark conditions where flash is inappropriate (interiors, evening markets, concerts)
- Wildlife at distance: A telephoto lens (300mm+) for birds and safari game is simply not replicable on a phone. If your trip involves wildlife photography, a dedicated camera with telephoto is justified
- Large-format printing: If you print above A2 size, the resolution advantage of a 24-megapixel+ sensor becomes visible. Most travelers don’t print above A3
The conditions where the phone is equal or superior:
- Daylight street and travel photography
- Portraits in good light
- Architecture in any light
- Food photography
- Landscape in daylight to dusk conditions
- Any situation where carrying a camera body reduces your willingness to photograph spontaneously
TrotRadar’s practical recommendation: if you don’t already own a dedicated camera, buy the best phone you can afford and invest the camera budget in trips. If you own a camera you enjoy using, take it. But don’t let the equipment conversation delay the photography habit conversation — the habits in this guide will improve your phone photography by more than any camera upgrade would.
Light: The Only Variable That Actually Matters
Every experienced photographer, when asked what separates good photographs from great ones, says the same thing: light. Not composition. Not equipment. Not subject matter. Light — specifically, the quality and angle of the available light at the moment you press the shutter.
Golden hour — the first hour after sunrise and the last hour before sunset — is named for what it does to photographs: the sun at low angle produces warm, directional light that creates texture in surfaces, long shadows that give three-dimensionality to flat scenes, and an amber warmth that makes almost any subject — a building, a person, a landscape, a street — more photographically compelling than at any other time of day.
Blue hour — the 20–30 minutes before golden hour in the morning and after golden hour in the evening — produces the specific quality of deep blue sky that makes city photographs at dusk dramatic: artificial lights illuminate the scene from within while the sky retains colour above.
Overcast light — a genuinely valuable condition for photography that most beginners treat as a failed shoot day: the cloud cover produces soft, directionless light that eliminates harsh shadows and is ideal for portraits, forest photography, waterfalls (no blown-out highlights in the white water), and colour-saturated landscape photography where shadow detail matters.
Midday direct sun — the specific condition that produces the most challenging photography and the most consistently disappointing results for beginners: harsh shadows under eyes and noses in portraits, blown-out white walls in architecture, flat landscapes without texture. If you must shoot at midday, look for shade (consistent soft light), find graphic shadow patterns to use as compositional elements, or use it for documentary photography where atmosphere is secondary to record.
The practical implication of understanding light: TrotRadar recommends planning every significant photography session around the light windows rather than the itinerary windows. The famous viewpoint at 10 AM produces a record shot. The same viewpoint at 6 AM or 6 PM produces a photograph.
Composition: The Habits That Change Results Immediately
Composition is the element of photography most teachable to beginners because its rules are simple, memorizable, and produce immediate results. TrotRadar’s five most impactful composition habits:
1. The rule of thirds. Mentally divide your frame into a 3×3 grid. Place your main subject on one of the four intersection points rather than in the center. Subjects in the center of a frame feel static; subjects on the third feel dynamic. Enable the grid overlay in your camera or phone settings until the habit is automatic.
2. Lead lines. Roads, rivers, fences, colonnades, and corridors that lead from the foreground into the background create depth and draw the viewer’s eye into the image. The strongest travel photographs almost always contain a lead line: the Tuscan cypress avenue, the Japanese torii gate tunnel, the Moroccan souk corridor. Find the line before choosing your position.
3. Change your height. Eye-level is the default that produces default photographs. Crouching produces foreground emphasis and a dramatically different horizon. Lying on the ground (for architecture looking up, for flowers, for reflections in puddles) produces perspectives that the standing viewer simply doesn’t see. Climbing one level (a wall, a staircase, a hill) provides the elevated perspective over a street or market that reveals the pattern invisible from within it. TrotRadar’s rule: before pressing the shutter from standing height, ask whether a different height would produce a better image. Usually it would.
4. Frame within a frame. Arch a doorway around your subject. Use a window frame, a tunnel entrance, or overhanging branches to contain the primary subject. The frame within a frame creates depth, directs attention, and gives context — all compositional strengths for a single habit.
5. Include a human element. A landscape photograph without a human presence has no scale reference. Adding a person — a small figure in the middle distance of a mountain scene, a silhouette in an archway, a person walking away from the camera into a market — gives the image human scale and emotional resonance that pure landscape cannot achieve. The person doesn’t need to be a portrait subject; they need to be a scale reference and a suggestion of humanity in an otherwise abstract scene.
The Subject: What Actually Makes a Travel Photograph
The subjects that produce the finest travel photographs are consistently the ones that most beginner photographers overlook in favour of the obvious monument or landmark:
People in their context. The fish market vendor at 6 AM. The grandmother at the doorway. The children playing in the street. These images document a place in a way that the famous architecture does not — they place living people in the landscape and create the emotional connection that architecture alone rarely achieves. Always ask permission in cultures where photographing strangers without consent is inappropriate (most of them); the gesture of asking often produces a more open and genuine expression than the candid shot taken without.
Details over panoramas. The tile pattern on a Portuguese façade. The spice arrangement in a Moroccan souk. The texture of Cappadocia stone. The hands of a craft worker. Detail photographs produce immediate visual impact at any sharing size, don’t require wide-angle equipment, and are more distinctive and specific than the landscape panorama that 50,000 people have taken from the same viewpoint.
The in-between moments. The best travel photographs are rarely taken at the obvious moment — the posed portrait, the landmark at dead center. They’re taken before and after: the vendor arranging the display before the market opens, the tour group filing into the temple while one person stands separately looking at their phone, the candid laughter between strangers in a language lesson. Leaving the camera at eye level for five minutes after you’ve taken the obvious shot produces these images.
The Practical Travel Photography Kit
TrotRadar’s recommended travel photography kit for a beginner who wants to travel light and photograph well:
- Primary camera: Flagship smartphone OR a lightweight mirrorless (Sony A7C, Fujifilm X-S20, OM System OM-5 are TrotRadar’s current mid-range mirrorless picks for travel weight and image quality balance)
- Lens (if using mirrorless): A single 35mm or 50mm prime lens (f/1.8 or faster) — one lens forces compositional discipline and eliminates the zoom laziness that produces static photographs
- Tripod: A lightweight travel tripod (Joby GorillaPod for phones and lightweight cameras; Peak Design Travel Tripod for serious users) — essential for golden hour and blue hour photography where handholding produces blur
- Storage: Two SD cards (or equivalent cloud backup habit) — the card failure that deletes a two-week trip’s images happens more often than TrotRadar would like to report
- Editing: Lightroom Mobile (free tier sufficient for most travel editing) or Snapseed (free, excellent) — post-processing a RAW file produces demonstrably better results than the in-camera JPEG at the same capturing moment. Learn the exposure, white balance, and shadow/highlight adjustments and most other editing controls become secondary
The Ethical Dimension: Photography and the Places You Visit
TrotRadar’s travel photography ethics framework is simple and non-negotiable:
Ask before photographing people. In most cultures, photographing a person without their knowledge or consent is a violation — particularly of elders, of women in conservative communities, and of people in moments of privacy or vulnerability. The discomfort of asking is less than the discomfort of having intruded. And the affirmative response — when someone agrees to be photographed and you show them the result — produces a human connection that no candid shot achieves.
Don’t pay for photographs. Paying children for photographs creates an economy of street posing that undermines school attendance and produces a transactional relationship with visitors that serves neither the child nor the community. TrotRadar’s position: if you want to contribute to a community, buy something from the parent’s stall or donate to a local school through a verified organization — don’t pay children to pose.
Respect the sacred. Many religious sites — temples, mosques, churches — have photography restrictions that exist for genuine reasons. A ceremony is not a photo opportunity. Put the camera away and be present in the experience. The image you don’t take will not be what you remember; the experience you were fully present for will.
For the destinations that produce the finest travel photographs — the specific combination of landscape, light, and cultural subject matter that rewards a photography-focused trip — read TrotRadar’s architecture destinations guide, our Asia street food cities guide, and our Morocco beyond Marrakech guide — all destinations where TrotRadar considers the photographic potential among the highest available anywhere in the world.
The TrotRadar Verdict on Travel Photography
Travel photography improves through habit change, not equipment change. Set the early morning alarm. Get lower than feels comfortable. Include the person in the landscape. Stay after the obvious shot is taken. Ask before photographing the stranger who would make the perfect subject. These five changes, applied consistently from the first morning of your next trip, will produce photographs meaningfully better than any camera upgrade would. TrotRadar’s collective photography experience confirms this. The places you visit will do the rest.
Find Your Next Photography Destination
TrotRadar features photography-focused travel packages in Morocco, India, Japan, Cappadocia, and Vietnam — destinations where the light, the subject matter, and the cultural richness reward every habit in this guide. Browse TrotRadar’s travel photography destination offers →